You would be surprised at how often I solve a users issue without having to leave my desk. Users typically calls me about issues about how they need an icon, need a printer job canceled, or can’t find the file they are looking for. Here are some helpful methods that you can use your environment to fix problems without leaving your desk.
Using Hidden Drive Shares
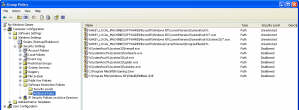
This is the one of the easiest to use and the most flexible to help you manage files on remote workstations. By default Microsoft Windows shares hard disk drives as a hidden share that only administrators can access. When you are setting up your domain you basically centralize the user authentication so now you have an administrator account on all the computers in your domain. This does require that file and print sharing is turned on in the Windows Firewall but for most environments this is most likely already on. To enable it from command line just type netsh firewall set service type = fileandprint mode = enable in command line window or run box. To configure it using Group Policy follow the these instructions
-
Open the Group Policy Object Editor snap-in to edit the Group Policy object (GPO) that is used to manage Windows Firewall settings in your organization.
-
Open Computer Configuration, open Administrative Templates, open Network, open Network Connections, open Windows Firewall, and then open either Domain Profile or Standard Profile, depending on which profile you want to configure.
-
In the details pane, double-click Windows Firewall: Allow file and printer sharing exception.
-
In the Windows Firewall: Allow file and printer sharing exception dialog box, on the Settings tab, click Enabled or Disabled.
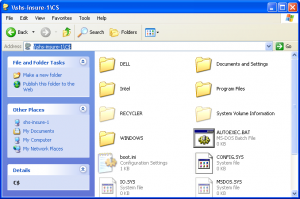
To access these shares you need to go to the UNC path of the computer followed by the drive letter and a dollar sign. Ex: \\computername\C$ and bam there is the entire drive of that computer. Now you can browse in the Documents and Settings and the user and add the icon on the desktop all from your computer. This should work for any Microsoft Windows since 2000 including server operating systems.
Remote Microsoft Management Console
If you are not familiar with Microsoft Management Console or MMC then you need to be. It is a unified management console that allows you to adjust not only settings on your computer but remote ones as well. To use this command remotely you need to enable “Remote Administration” in the Windows Firewall this can be done by running the following command: netsh firewall set service type = remoteadmin mode = enable or you can enable it using group policy by following these Microsoft steps: Microsoft Article
-
Open the Group Policy Object Editor snap-in to edit the Group Policy object (GPO) that is used to manage Windows Firewall settings in your organization.
-
Open Computer Configuration, open Administrative Templates, open Network, open Network Connections, open Windows Firewall, and then open either Domain Profile or Standard Profile, depending on which profile you want to configure.
-
In the details pane, double-click Windows Firewall: Allow remote administration exception.
-
In the Windows Firewall: Allow remote administration exception properties dialog box, on the Settings tab, click Enabled or Disabled.
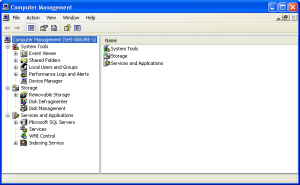
Once you have the exception in place you can run different commands remotely either by accessing a menu with the console or starting it from command line to open a computer. To start the Computer Management Console from command line just type compmgmt.msc /computer:computername in your run box or at the command line and it should automatically open the Computer Management console to that remote computer. Now you can go though the different parts of the machines from your desktop without interrupting the user. You should be able to do most things that you could if you were running this locally on the PC except for the Device Manager which is in read-only mode.
Remote Registry Editing
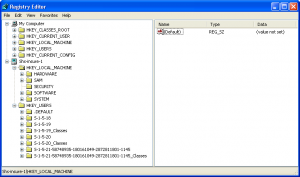
Another less know feature of the registry editor is the ability to open a remote computers registry and make changes. To open the registry editor type regedit in your run box or command line, once it has open go to the File Menu and select Connect Network Registry… then just type in the name of the computer in the box and it should just open as another computer in the tree view. There are a few things to be aware of when editing another computers registry, you cannot undo your changes, so be sure you know what you are doing or the next call might be about the computer you just hosed by changing something you shouldn’t have. Also, the current user hive is sort of hard to find. It is under HKEY_USERS then it is probably something like S-1-5-XX-XXXXXXXX-XXXXXXXXX-XXXXXXXXXX-XXXX, if you have multiple entries like this you will need to check the Volatile Environment key named SESSIONNAME, it is set to Console then that is the HKEY_CURRENT_USER hive. The local machine class is in the same place in both the remote registry and the local one.
