Powershell File Sharing Permissions Report

Often I am asked to verify folder permissions for a user in a specific place out on one of our servers. Typically this requires browsing out the folder and putting eyes on the permissions dialog box looking for a group on which the user is a member and then documenting it in the ticket. A very painful long boring process. This is where Powershell comes and saves the day. I wrote a very simple script to bring that information to me. It also gives nice output that I can directly copy into tickets to answer what groups has rights to what shares.

This prompts the user to “Enter a UNC Path” once entered goes and grabs the NTFS permissions as well as the SMB Share permissions

Powershell Code

Write-Host

$path = Read-host “Enter a UNC Path: ”
$pathparts = $path.split("\")
$ComputerName = $pathparts[2]
$ShareName = $pathparts[3]

Write-Host "File Sharing Permissions Report - $path"
Write-Host 

$acl = Get-Acl $path

Write-Host "File/NTFS Permissions"
Write-Host 

foreach($accessRule in $acl.Access)
{
    Write-Host "   " $accessRule.IdentityReference $accessRule.FileSystemRights
}
Write-Host 
Write-Host "Share/SMB Permissions"
Write-Host

    $Share = Get-WmiObject win32_LogicalShareSecuritySetting -Filter "name='$ShareName'" -ComputerName $ComputerName
    if($Share){
        $obj = @()
        $ACLS = $Share.GetSecurityDescriptor().Descriptor.DACL
        foreach($ACL in $ACLS){
            $User = $ACL.Trustee.Name
            if(!($user)){$user = $ACL.Trustee.SID}
            $Domain = $ACL.Trustee.Domain
            switch($ACL.AccessMask)
            {
                2032127 {$Perm = "Full Control"}
                1245631 {$Perm = "Change"}
                1179817 {$Perm = "Read"}
            }
            Write-Host "   $Domain\$user  $Perm"
        }
    }
Write-Host

Example Output

.\Get-Permissions-NTFS-SMB.ps1

Enter a UNC Path: : \\filesrv\Working Groups
File Sharing Permissions Report - \\filesrv\Working Groups

File/NTFS Permissions

    BUILTIN\Administrators FullControl
    DOMAIN\Domain Admins FullControl
    DOMAIN\Domain Users ReadAndExecute, Synchronize
    DOMAIN\Folder - File Server Admins FullControl

Share/SMB Permissions

   DOMAIN\Domain Admins  Full Control
   DOMAIN\Domain Users  Full Control

Read More

Keeping Windows Time Synchronized

Over the years I have managed a few applications that are time sensitive in recording when certain things were logged. This has caused issues when some computers update time and some get behind. Users have trouble understanding why they did something at one time but it was recorded as another. I did find a few commands that can help remedy this problem.

To check Windows Time Service configuration.

w32tm /query /configuration

To configure a standalone server or domain controller for an external time source.

w32tm /config /update /manualpeerlist:"0.pool.ntp.org,0x8 1.pool.ntp.org,0x8 2.pool.ntp.org,0x8 3.pool.ntp.org,0x8" /syncfromflags:MANUAL

To force update to time source.

w32tm /resync

Source: WindowsTimeService < Support < NTP.
Source: Microsoft Technet: Windows Time Service Tools and Settings

Read More

Message from Administrator Configuration in Windows Deployment Services

I’ve been using Windows Deployment Services for quite a while and was wondering how to change the message from administration field when a device requires approval. This is mostly to instruct service desk employees that deploying computers requires some approval.

It’s actually a pretty simple command that needs to be run on the WDS server with the message you want.

WDSUtil /set-server /AutoAddPolicy /Message:"This device requires approval for deployment, please call 123-4567“

Source: “Message from Administrator” in WDS Windows Deployment Services – Windows Server 2008 R2 blog by Kurt Roggen [BE].

Read More

How to Disable Weak SSL Protocols and Ciphers in IIS

I recently undertook the process of moving websites to different servers here at work. This required that university networking group scan the new webserver with a tool called Nessus. Unfortunately this turned up several errors, all of them had to do with Secure Sockets Layer or SSL which in Microsoft Windows Server 2003 / Internet Information Server 6 out of the box support both unsecure protocols and cipher suites. These problems would have to be solved before they would allow the new server though the firewalls. The report they university sent me was generated by Nessus generated errors like this:

SSL Version 2 (v2) Protocol Detection

Synopsis :

The remote service encrypts traffic using a protocol with known
weaknesses.

Description :

The remote service accepts connections encrypted using SSL 2.0, which
reportedly suffers from several cryptographic flaws and has been
deprecated for several years. An attacker may be able to exploit
these issues to conduct man-in-the-middle attacks or decrypt
communications between the affected service and clients.

See also :

http://www.schneier.com/paper-ssl.pdf
http://support.microsoft.com/kb/187498
http://www.linux4beginners.info/node/disable-sslv2

Solution :

Consult the application's documentation to disable SSL 2.0 and use SSL
3.0 or TLS 1.0 instead.

Risk factor :

Medium / CVSS Base Score : 5.0
(CVSS2#AV:N/AC:L/Au:N/C:P/I:N/A:N)

Nessus ID : 20007
----------------------------------------------------------
SSL Medium Strength Cipher Suites Supported

Synopsis :

The remote service supports the use of medium strength SSL ciphers.

Description :

The remote host supports the use of SSL ciphers that offer medium
strength encryption, which we currently regard as those with key
lengths at least 56 bits and less than 112 bits.

Note: This is considerably easier to exploit if the attacker is on the
same physical network.

Solution :

Reconfigure the affected application if possible to avoid use of
medium strength ciphers.

Risk factor :

Medium / CVSS Base Score : 4.3
(CVSS2#AV:N/AC:M/Au:N/C:P/I:N/A:N)

Plugin output :

Here are the medium strength SSL ciphers supported by the remote server :

Medium Strength Ciphers (>= 56-bit and < 112-bit key)
SSLv2
DES-CBC-MD5 Kx=RSA Au=RSA Enc=DES(56) Mac=MD5
SSLv3
DES-CBC-SHA Kx=RSA Au=RSA Enc=DES(56) Mac=SHA1
TLSv1
EXP1024-DES-CBC-SHA Kx=RSA(1024) Au=RSA Enc=DES(56) Mac=SHA1 export
EXP1024-RC4-SHA Kx=RSA(1024) Au=RSA Enc=RC4(56) Mac=SHA1 export
DES-CBC-SHA Kx=RSA Au=RSA Enc=DES(56) Mac=SHA1

The fields above are :

{OpenSSL ciphername}
Kx={key exchange}
Au={authentication}
Enc={symmetric encryption method}
Mac={message authentication code}
{export flag}

Nessus ID : 42873
--------------------------------------------------------------------
SSL Weak Cipher Suites Supported

Synopsis :

The remote service supports the use of weak SSL ciphers.

Description :

The remote host supports the use of SSL ciphers that offer either weak
encryption or no encryption at all.

Note: This is considerably easier to exploit if the attacker is on the
same physical network.

See also :

http://www.openssl.org/docs/apps/ciphers.html

Solution :

Reconfigure the affected application if possible to avoid use of weak
ciphers.

Risk factor :

Medium / CVSS Base Score : 4.3
(CVSS2#AV:N/AC:M/Au:N/C:P/I:N/A:N)

Plugin output :

Here is the list of weak SSL ciphers supported by the remote server :

Low Strength Ciphers (< 56-bit key)
SSLv2
EXP-RC2-CBC-MD5 Kx=RSA(512) Au=RSA Enc=RC2(40) Mac=MD5 export
EXP-RC4-MD5 Kx=RSA(512) Au=RSA Enc=RC4(40) Mac=MD5 export
SSLv3
EXP-RC2-CBC-MD5 Kx=RSA(512) Au=RSA Enc=RC2(40) Mac=MD5 export
EXP-RC4-MD5 Kx=RSA(512) Au=RSA Enc=RC4(40) Mac=MD5 export
TLSv1
EXP-RC2-CBC-MD5 Kx=RSA(512) Au=RSA Enc=RC2(40) Mac=MD5 export
EXP-RC4-MD5 Kx=RSA(512) Au=RSA Enc=RC4(40) Mac=MD5 export

The fields above are :

{OpenSSL ciphername}
Kx={key exchange}
Au={authentication}
Enc={symmetric encryption method}
Mac={message authentication code}
{export flag}

Other references : CWE:327, CWE:326, CWE:753, CWE:803, CWE:720

Nessus ID : 26928
-----------------------------------------------------------------

These three error messages pretty much mean that you need to turn off SSL 2.0 due to exploits that were found after the standard was created. You need to turn off any encryption suites lower than 128bits. The third error message says we need to turn off anything for less than 56bits, but this will be accomplished by turning of anything less than 128bits. Basically your are modifying the settings that restrict the use of specific protocols and ciphers that are used by the schannel.dll. More detailed information can be found at Micorsoft’s KB187498 or KB245030

How do we do this?

Disabling SSL 2.0 on IIS 6

  1. Open up “regedit” from the command line
  2. Browse to the following key:
    HKLM\SYSTEM\CurrentControlSet\Control\SecurityProviders\SCHANNEL\Protocols\SSL 2.0\Server
  3. Create a new REG_DWORD called “Enabled” and set the value to 0
  4. You will need to restart the computer for this change to take effect. (you can wait on this if you also need to disable the ciphers)

Disable unsecure encryption ciphers less than 128bit

  1. Open up “regedit” from the command line
  2. Browse to the following key:
    HKLM\SYSTEM\CurrentControlSet\Control\SecurityProviders\SCHANNEL\Ciphers\DES 56/56
  3. Create a new REG_DWORD called “Enabled” and set the value to 0
  4. Browse to the following key:
    HKLM\SYSTEM\CurrentControlSet\Control\SecurityProviders\SCHANNEL\Ciphers\RC2 40/128
  5. Create a new REG_DWORD called “Enabled” and set the value to 0
  6. Browse to the following key:
    HKLM\SYSTEM\CurrentControlSet\Control\SecurityProviders\SCHANNEL\Ciphers\RC4 40/128
  7. Create a new REG_DWORD called “Enabled” and set the value to 0
  8. Browse to the following key:
    HKLM\SYSTEM\CurrentControlSet\Control\SecurityProviders\SCHANNEL\Ciphers\RC4 56/128
  9. Create a new REG_DWORD called “Enabled” and set the value to 0
  10. You will need to restart the computer for this change to take effect.

How to verify the changes?

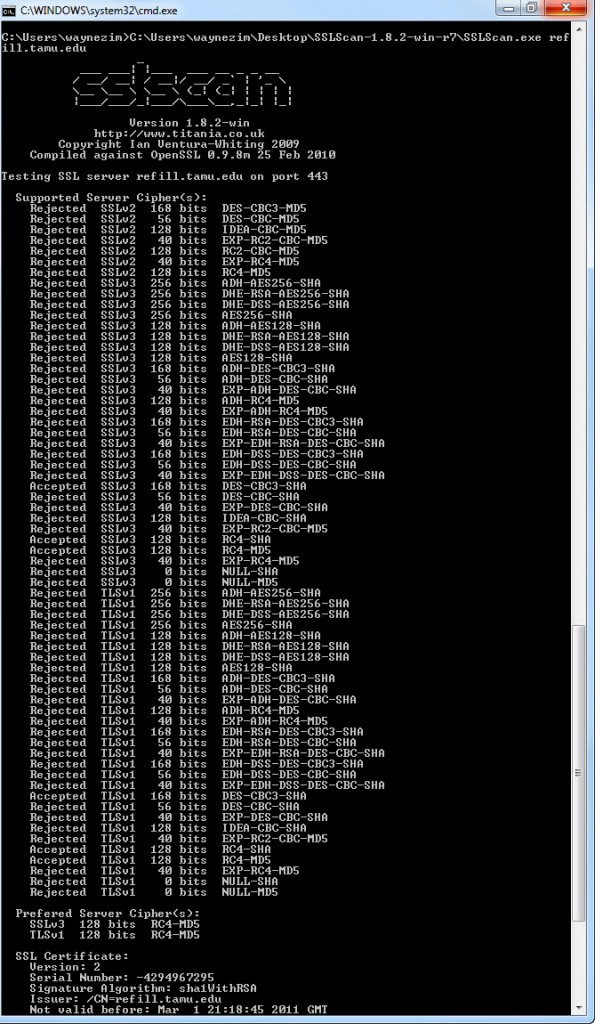
Now that you have made these changes how can you be sure that they have taken place without having to go to your boss or higher authority just to find that you did them wrong. Well I found a nice tool called SSL-SCAN which you can download at http://code.google.com/p/sslscan-win/ for the Windows port or you can download an compile for your favorite operating system at the original project SSL-SCAN site http://sourceforge.net/projects/sslscan/. This tool provides some great detail about what is allows and not allows plus some analysis of the SSL certificate itself.

Below the screen shot shows that we have disabled any ciphers that attempt to use the SSL 2.0 protocol and we’ve disabled all ciphers that less than 128bit.
Read More

How to Slipstream Drivers into a Windows Installation using nLite

Slipstreaming drivers in to your Windows installation can either make your Windows install super simple or just make it possible. Most modern SATA and RAID controllers need specific drivers for Windows to see and use the hard drive, and with most newer computers not having a floppy drive and most unable to use a USB attached one this leaves you to only option to add the correct driver to the CD using this slipstream technique. Besides adding hard drive controller drivers so you can install windows you can also add whatever other drivers you would typically install in Windows and put them in the install. Today I will be walking you though adding a RAID card driver to a Microsoft Windows 2003 Standard Edition installation.

Requirements

  • Microsoft Windows OS CD (2000,XP,2003 / Any Flavor)
  • nLite 1.4.9.1
  • RAID or SATA Driver needing to be added to your Windows Installation
  • Knowledge and Software to Burn an ISO image

Directions
Get the nLite software installed and fire it up, the software is pretty much a glorified wizard, but I will still take you step by step though it.

  1. Select your language, I would suggest English in your case and press Next
       nlite-01
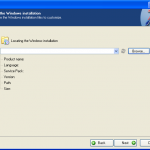
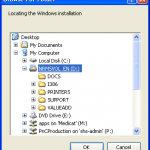
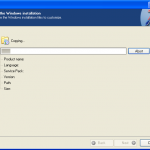
  2. Click Browse and use the Browse for Folders dialog box, now Select your CD-ROM drive that contains your Microsoft Windows CD, then click Next
       nlite-02   nlite-03
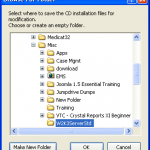
  3. Since you selected the CD in the first option, it should now Warn you and prompt you as to a Folder it can use to copy the files off the Windows CD and customize them in. I just made a folder in my Misc folder for this version of Windows
       nlite-04   nlite-05
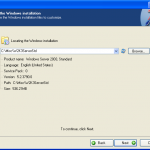
  4. Now you should see a progress bar box, it is coping the files from the CD to the directory you selected so they can be customized. Once finished it should identify your OS, now press Next
       nlite-06   nlite-07
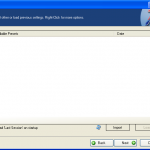
  5. This screen would allow you to import a previous set of nLite settings if you had used it before, however we haven’t so just Next though this window
       nlite-08
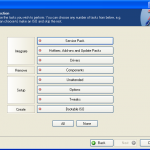
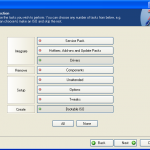
  6. Now you can see all the different areas that nLite can customize to make your installation go easier, however we are only interested in adding some drivers so we can actually install Windows so select Drivers and Bootable CD because we want to be able to boot to the CD and maybe burn it at a later date, then press Next
       nlite-09   nlite-10
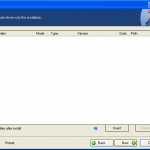
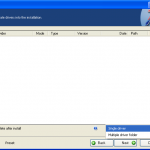
  7. You will now be presented with the Drivers screen which will allow you to add drivers to your installation. To add a driver click on the Insert button. It should give you a small menu asking you to Select Single Driver or a Multiple Driver folder, for our use we just need to add the one Single Driver so select that.
       nlite-11   nlite-12
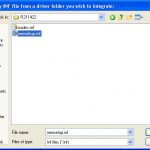
  8. It should prompt you to select the INF needed for the install, browse to where your driver is and select it.
       nlite-13
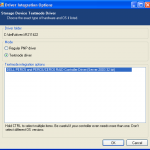
  9. Now it should identify what the driver is actually for and it asks you to select a mode. Regular PNP Driver should be used with devices that will be installed during the installation (network, video, sound), Textmode Drivers are loaded before the Windows installation starts, it is the equivalent of pressing F6 during the install and pointing to a floppy disk for the driver. This is mostly used for hard drive controllers, because Windows needs to know how to use the hard drive before it can install anything to it. Once you have selected the correct mode press OK
       nlite-14
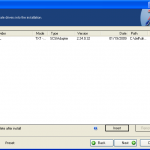
  10. If you need to add more drivers just repeat the last three steps of the process, we only need the one driver to see our new RAID controller so we will press Next and move on.
       nlite-15
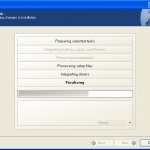
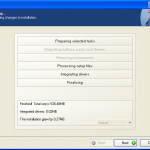
  11. Since this was the only part of Installation we were customizing it now asks if we want to start the process of applying the changes, go ahead and press Yes. It will next present you with a quick little status screen about it integrating the drivers and provide you with a little summary. Once it has completed press Next
       nlite-16   nlite-18   nlite-19
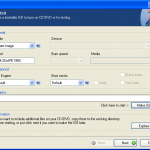
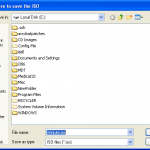
  12. Now it will provide you with a screen to Burn to a CD or Create an image, for this example we will create an image, this way I don’t have to repeat this process next time I want this driver on this CD. Go ahead and customize the label, this can help you remember what you added to this customized Windows installation, just leave the rest to default and click Make ISO, it will then prompt you as to where to save the CD/ISO image, once you have found a good location (I typically have a CD Images folder on my C: drive) then press Save
       nlite-20   nlite-21   nlite-24
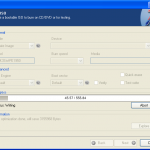
  13. You should now be presented a progress bar box of it saving the ISO file to your Hard Drive. Once finished it should show you that it was created successfully. now you can press Next and Finish to close the nLite program.
       nlite-25   nlite-26
  14. The last step is a bit more independent of your setup, but run your favorite CD burning program and select Burn Image and direct it to the ISO image you just saved. This will create a bootable customized Windows CD that you can use to install your system
  15. Read More