There are millions of workstations out in the world and I’m sure you have deployed your fair share of them. I recently received 25 brand new Dell Optiplex 760s to replace our GX270s that are getting close to the six year mark. I thought I would take this chance to document the process and share it.
Hardware Considerations
For the imaging process to work well you need PCs that have the same hardware, this makes it very simple to make an image for one PC and use it over and over again and get the same result every time. You can build an image on one model of PC then load it on a different one but it will most likely be missing drivers, but then if you load drivers and make a new image it will now support both types of computers. This won’t always work but it has with similar hardware like Dell Optiplex 740 / 745 / 755 / 760. I typically just have one type of image for each type of computer that I have, which just makes things simple.
Prerequisites
Before getting to far into this you will need to download and install an FTP server. You can put this on just about any workstation but keep in mind you will have to store disk images and it will be busy doing transfers when you are imaging PCs so you may want to make it a box that doesn’t do much. For an FTP server I would have to suggest Filezilla FTP Server, it runs on Windows fast, free and open source. For imaging software you will need to download the latest version of G4L or Ghost for Linux, you will need to burn the ISO image to a CD and use this a boot CD to backup or restore an image. Don’t let the Linux scare you, it has an easy to use menu that can allow anyone to image PCs.
Load PC to User Ready
Now that you have your batch of PCs, go ahead and load one up. Be sure to install software suites like Microsoft Office and any other utilities that may be necessary for you environment. You can join it to a domain however keep in mind it isn’t a good idea to join it to a domain then join it to a different domain depending on the settings you have, they may conflict.
Prepping a Windows Based Image for G4L
Once you have your PC happy with all the settings and software installed, start the clean up process. Go remove all Temporary Internet Files and History by going to Start > Control Panel > Internet Options, on the General Tab under Browsing history, click on the Delete… button, then Delete all.. at the bottom of the dialog box and confirm Yes. This will remove any browsing that you may have done while setting up the computer and loading drivers. Next, go to My Computer, right click on Local Disk (C:) go to Properties. Now on the General Tab, click on Disk Cleanup. Check all the items except Compress Old Files. Next go to the More Options tab and locate the System Restore Section and click on Clean Up and confirm the dialog box. This will remove any System Restore points that you don’t need and should free up some disk space. Press OK at the bottom and it should Clean Up the disk. Next do a defragmentation of the drive. You certainly don’t wanna be passing out new PCs with slow fragmented drives. You can just use the standard windows utility for that, since there shouldn’t be that much to fix. After that completes, you need to wipe the free space, the best tool that I have found for this is called Disk Redactor. Don’t let the cheezy website fool you, this is a good free tool that makes the free space empty. This is key because you don’t wanna backup an entire disk full of free space that has junk in it. It will make your disk image much larger than it needs to be. This part takes a while (depending on the size of your drive) so go find a nice cold beverage so you can be refreshed when it finishes. Once this finishes, Uninstall it, I can recall several times I have made images and accidentally left it installed. Trust me you don’t want your users calling you about it. Now it is Sysprep time, although sysprep is very powerful and can automate the windows setup, that is not the route we are going today. Simple always seems to be key for me. To install sysprep extract the sysprep version to C:\sysprep inside of there run sysprep.exe. I will warn you about SIDs and then give you some options. Click use mini-setup and click Reseal. Once the utility completes it will shutdown the PC.
Backing up an Image Using G4L
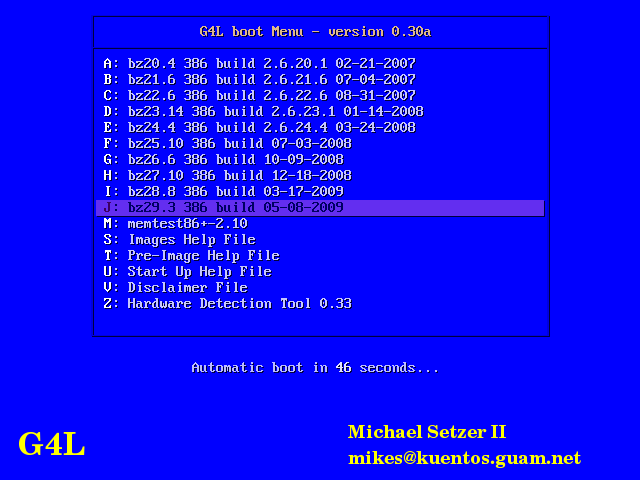
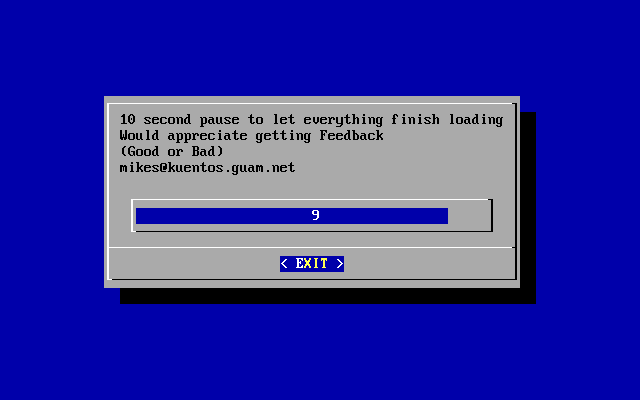
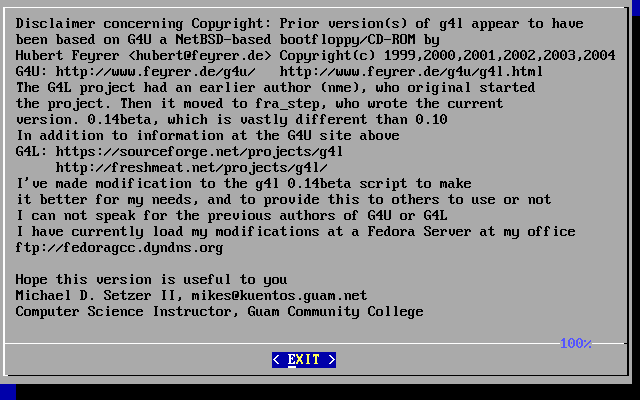
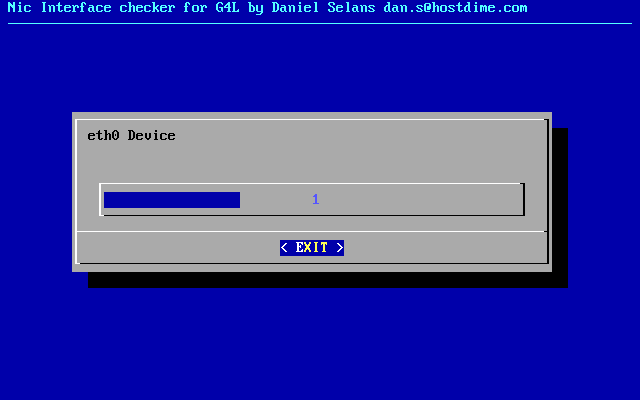
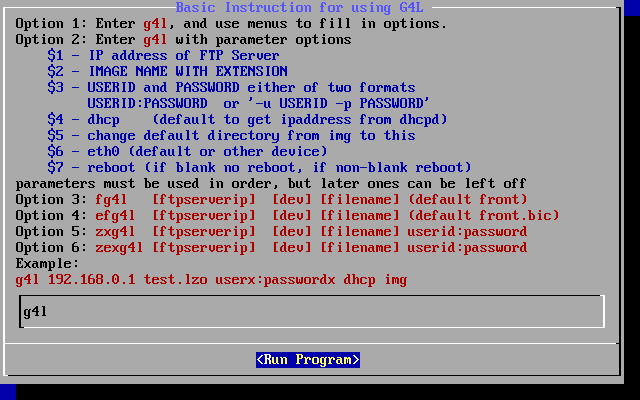
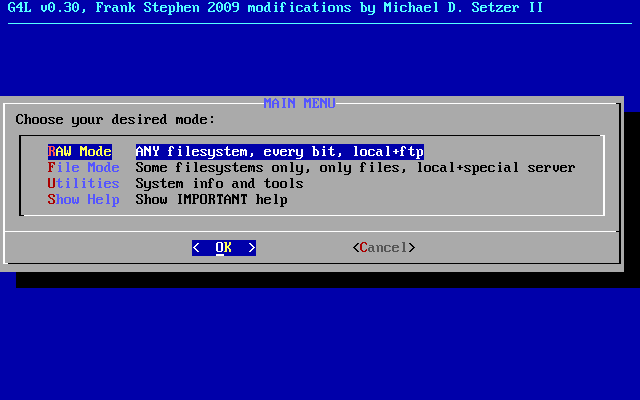
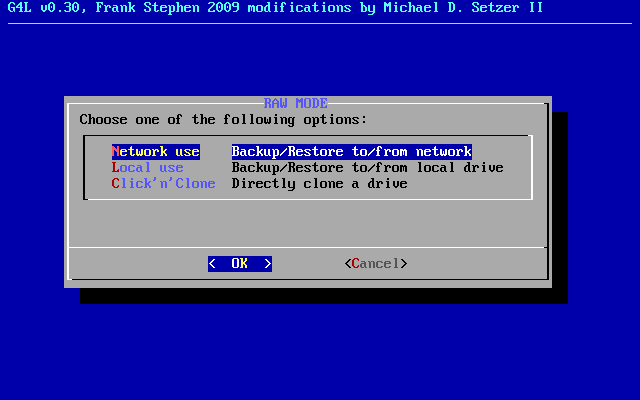
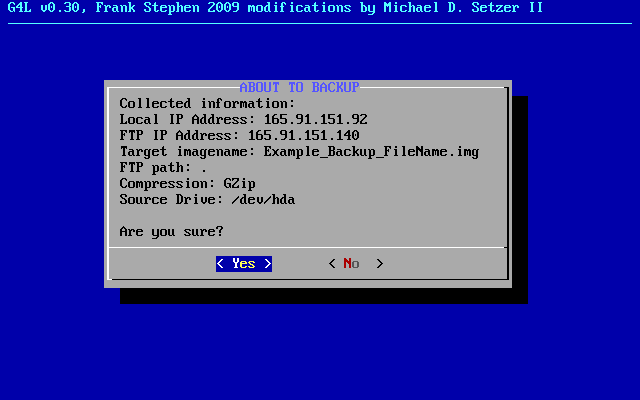
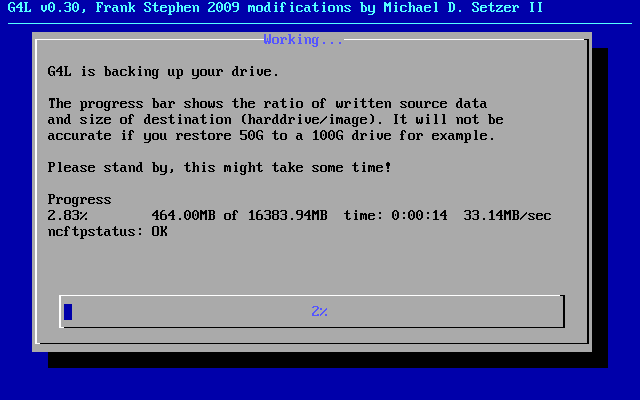
Power on the PC and insert the G4L CD and boot to it, either though a change in the bios or most Dell computers you can press F12 and get a boot menu. Once it has booted to CD you should receive a screen asking for which kernel just select the one that is highlighted by default. It should load two files then go in to awesome Linux boot script mode in which it detects the hardware just wait for this to finish. You should next receive some information about this project and the people behind it, just next on though it. A little more detection for network stuff and finally you should be presented with the G4L command line. Simply type G4L this will ask a few more things. Now, select Yes and accept the license agreement. Next, select RAW, this supports all file systems. Select Network Use because we want to copy the image to the FTP server. Lastly, fill out this screen based on your Network, you will need to specify the IP of the server for Config FTP as well as the username and password, Config useridpass, and a filename Config filename, change the compression to your preference I use Gzip but any one of these will do equally well. When naming the image you may want to consider putting parts of the computer model, OS, Service pack, or Hard Drive size, this will help in the future when you have 20 images and want to make sure you get the right one on the right workstation. When you have all your options in there select Backup and it will confirm your options with you one last time and then show you a progress bar. This part can take sometime to finish but once the image is uploaded you can start imaging it to other workstations. I have attached some screenshots of the G4L program so you can get a feel for where these items I talk about are located in the menu structure.
Restore an Image using G4L
To image a workstation boot to the G4L CD and go though the menus except select the Restore menu option instead of backup and it will transfer the image to the new workstation.